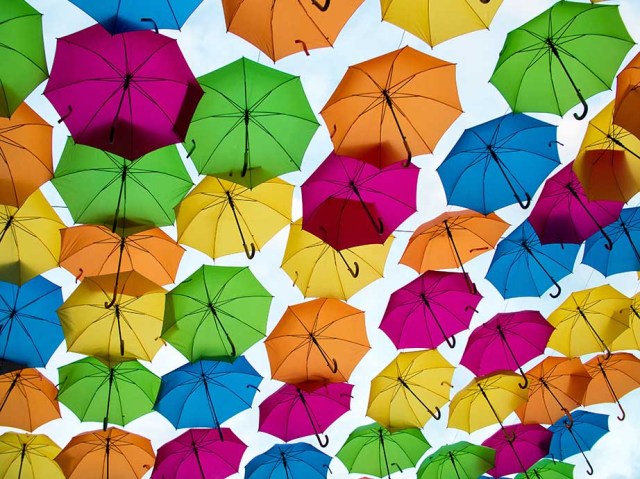
Use your blog to exhibit your photographs
Your blog will, ideally, contain a mixture of different types of posts: tutorials, opinions, stories or behind-the-scenes insights, reviews, and showcases of your work. For photographers, your blog is a perfect platform for displaying what you can do.

Gallery posts may not need to contain a ton of text; rather, this is your moment to show off your best work to your online audience.
We’ll call this type of post an exhibit. Much like a spot on an art gallery wall, this post is a quiet, well-lit space for you to display and explain a photograph, or a small collection of photographs, if you like.
Take advantage of your CMS
This is a great opportunity to take advantage of your CMS’s image-display features, such as lightboxing, sliders, or full-width image display, that truly let your photography shine.
Commentary
Text for an exhibit can be minimal, with a simple explanation of the subject, location, technique, or any interesting notes about capturing that particular image. It is usually a good idea to include information about the type of equipment you used for that image and any settings you’d like to share with your audience, as well. If you leave this information out of your post, you will often find that a commenter requests it.
 Taken using a Canon 6D with a 50mm ƒ/1.8, at ƒ/2.8 and 1/200 second, ISO 100.
Resizing and cropping
In your image-editing software, resize the photograph to the largest size your CMS will display. Depending on the theme you’re using this could range between 500 pixels and a full-screen width option. Save the image as a high-quality JPEG, but keep an eye on the file size.
If you like, you can crop a section of the original size photo and display it to show details the reader might otherwise miss. Post this enlarged-details picture under the main image and its accompanying text. Along with the secondary picture, include some text that explains why you chose to highlight this detail and any techniques used to achieve the given effect.
How many images?
If you’d like to use more than one image for the post, the exhibit should contain at most a small handful of high-quality images, not more than five or seven, that are thematically linked but without redundancies (i.e., don’t feature multiple portraits of the same person in the same setting or multiple snaps of the same landscape at the same time of day).
What you do not want to do in an exhibit post is a ‘photo dump’ of dozens of pictures from a studio shoot, a portrait session, or an event. That’s all good and fine for Flickr or Facebook, but on your blog, try to treat each post as a showcase opportunity. Pick a few gems from the session and display them with pride; you can always choose to link to a fuller set on Flickr or a similar, photo-specific site.
Layout
Your CMS may allow you to feature a ‘gallery’ of image thumbnails in your post. If such a feature isn’t available, you can resize the images and place them in rows and columns, making sure that each one links to a full-size or larger version of the photograph.
Alternatively, if you prefer to have more control over how the images are displayed, you can build
your own gallery-type meta-image in Photoshop.
This kind of advanced post formatting will allow you to design the layout of one large image that will hold all the smaller images for that post, kind of like a photo album page. While your readers won’t be able to click through and see the separate images, it will allow you to display the exact spacing, text, colours, and other design elements you desire.
This type of formatting is more common among design bloggers, fashion bloggers, craft/DIY bloggers, and the like, but if the overall aesthetic is consistent with the rest of your blog, it can be a visually engaging and appealing device to use on occasion.
Blogging for Photographers by Jolie O’Dell tells you everything that you need to know about establishing your own photo-blogging website, from the basics of how to get your photos from your camera to the Internet, and looking lovely, to how you can make money from your site.
 Blogging for Photographers
Jolie O’Dell
Buy it now!
RRP for print edition: £12.99


